By Bob Wettermann
There are several aspects of printing using a prototype SMT stencil that one needs to keep in mind in order to print effectively and without errors.
The first important aspect to printing prototypes is the selection of the right SMT prototype stencil for the right job. Selecting the right SMT prototype stencil first begins with the correct material. Plastic stencils are sufficient for projects where (10) or fewer boards need to be assembled and the pitch is equal to or greater than 0.8mm. Metal SMT prototype stencils are available in foil only, frameless or prototype (with side flap) configurations.
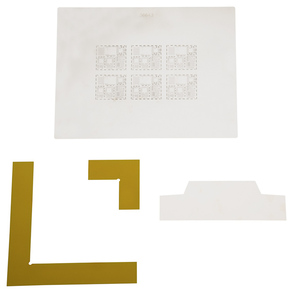
SMT Prototype Foil Only Kit
The second important aspect is the tooling using during the prototype printing cycle. This “tooling” includes making sure that you have the proper way to affix the board holders which will seat and hold steady the PCBs. The stencil must also be held in place (we suggest blue painters tape) such that it aligns with the board and does not shift around during the printing process.
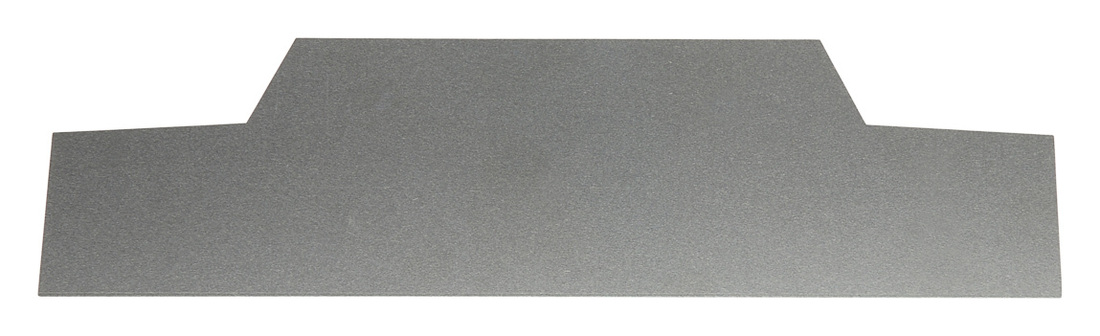
Squeegee for SMT Prototype Stencil Printing
The final aspect to ensuring that a quality prototype solder paste print be executed is the printing method. Make sure that the solder past is given 20-30 minutes to come to room temperature. In addition also make sure that the solder is mixed prior to using. Both of these steps will ensure that the solder paste has the proper rheological properties for SMT solder paste printing. Make sure the squeegee blade is held at a 45 degree angle relative to the PCB and that consistent pressure is applied through the print area and through the end of the board. Too much pressure will “scoop” the solder paste form the apertures and cause insufficient on the solder paste volume. Not applying pressure through the entire pattern including the end of the stroke will leave less volume of paste on the apertures near the end of the print cycle.
